{{ name }}
Article no. {{ combinedCodeWithHighlight }}
Article code:
As a master craftsman, smaller component repairs are as much part and parcel of your daily routine as more complex welding jobs, both manual and automated. Common to both cutting and joining is that it’s all in the mix!
Welding jobs differ depending on your workplace. The size of components for joining may vary as much as their shape or material quality. But one thing is true no matter what sector you and your team work in: parts for welding always have to be meticulously prepared and finished weld seams brushed up.
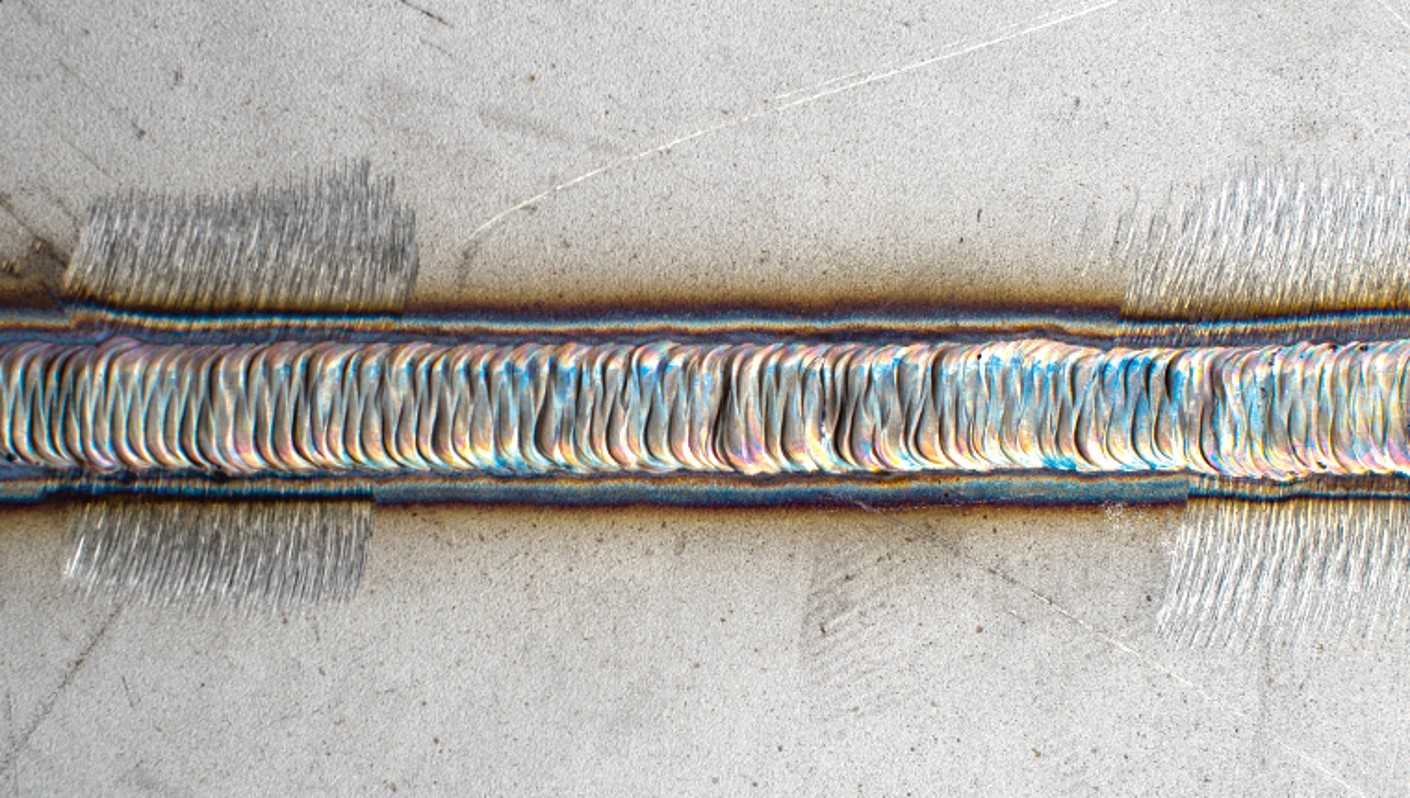
Because weld seams not only need to last, they also shouldn’t detract from an appealing appearance. Additionally, they need to be smooth to prevent injury. As a proficient metalworker, your environment has taught you that a finished component’s shape – and thus the welding work performed on it – plays a key part in how the component handles dynamic loads.
So that weld won’t turn into woe, we’ve compiled the key facts on weld grinding for you. Find out what preparations are absolutely essential for making a weld seam perfect and what you need to look out for after you’re done welding.
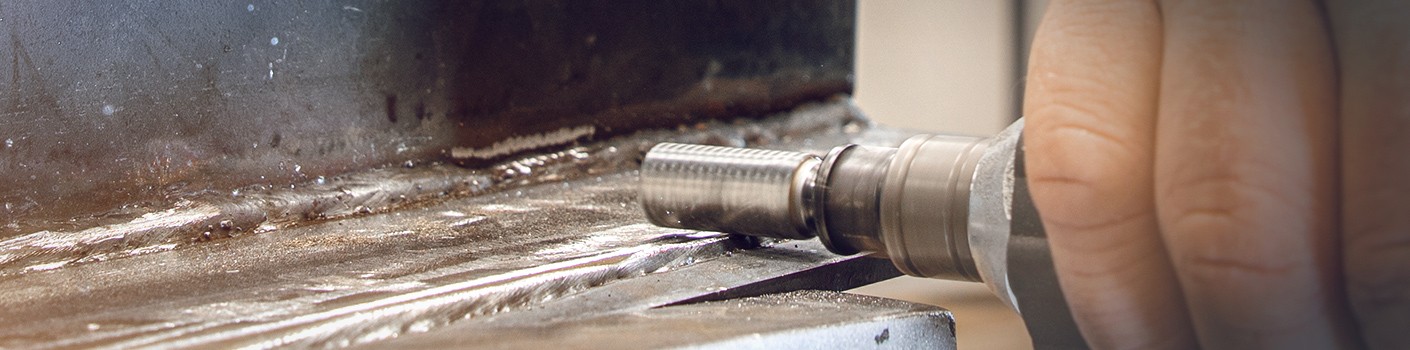
How you and your workshop team go about preparing a weld first of all depends on the shape of the component and consequently on the produced weld seam. The classics among weld seams: fillet seam and DV seam. But even if you’re going to end up with a flanged seam, I seam, lap seam or corner seam: your seam will only be as good as your preparation and follow-up, which means as good as these jobs:
For chamfering, you’ll find angle grinders useful, or even sander bands and grinding points, abrasive flap discs, fibre discs or Cut&Grind grinding discs – this will depend on the size of the weld seam.
Tip: Check out our section on materials for a compendium of facts on the most common metals. It will make choosing the right tool easier.
Depending on your component’s shape and what it’s going to be used for, you might need to gouge your joint before welding. You can do so thermally, or mechanically using grinding tools. Finding the best tools for this will be affected by a number of things, including the component itself, its material and its shape. Bonded grinding wheels can be used for a variety of gap sizes, making them one option among many.
Note: Don’t forget about grease, oil and other organic contaminants. Clean these off thoroughly to prevent undesired carbonisation or inclusions in your weld seam.
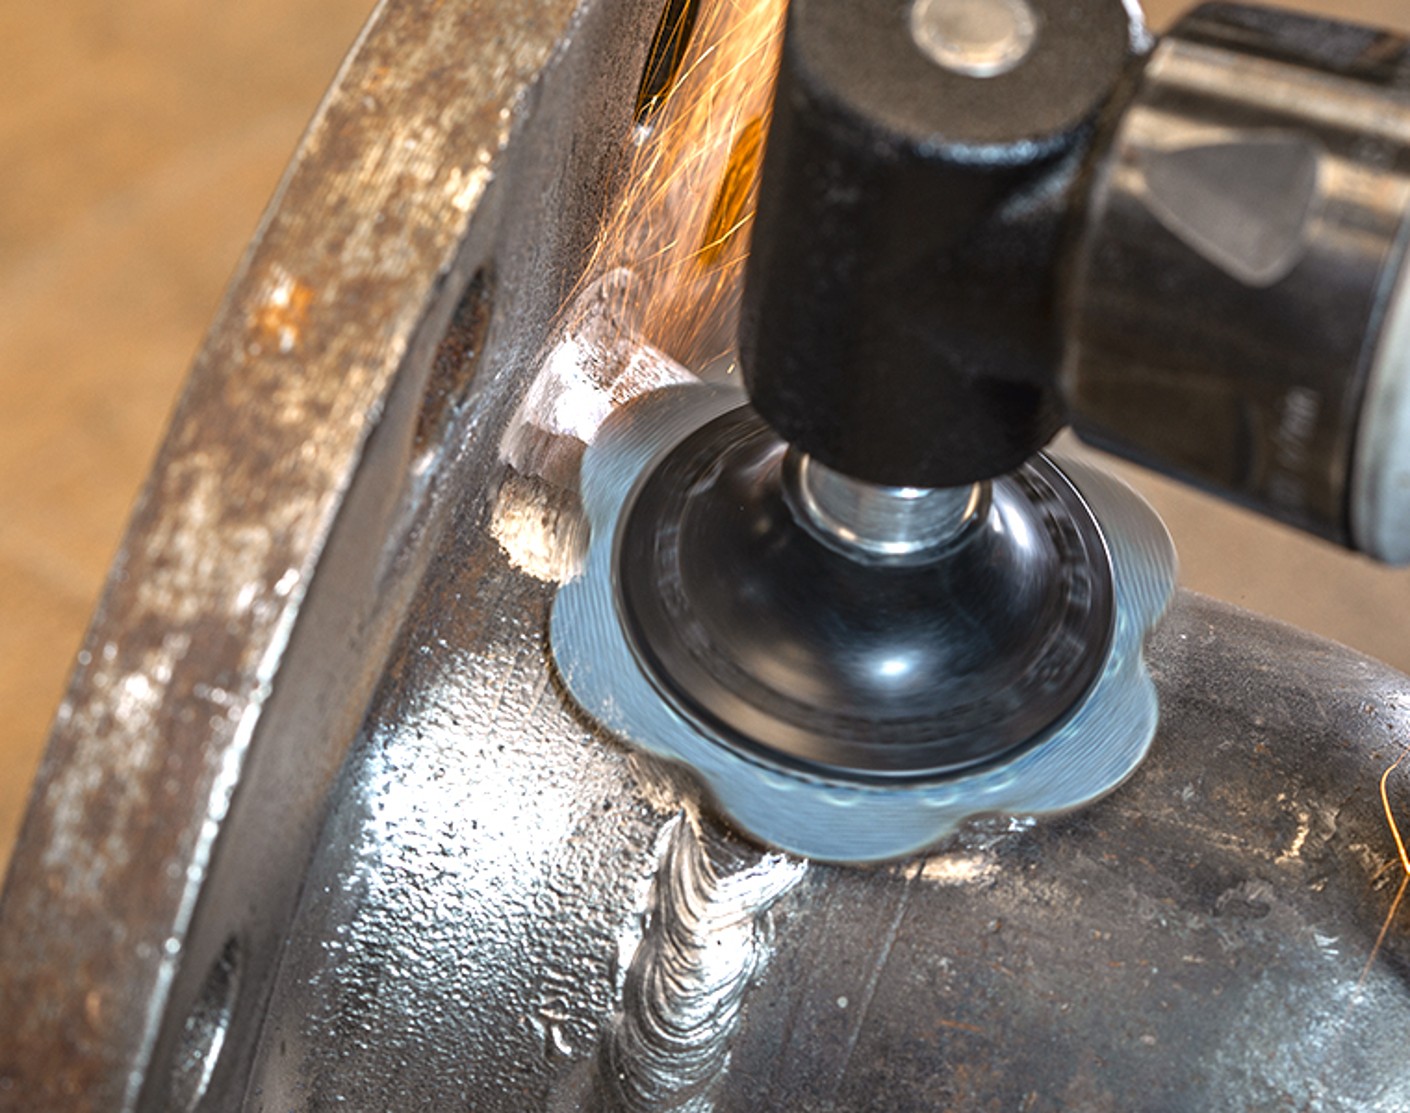
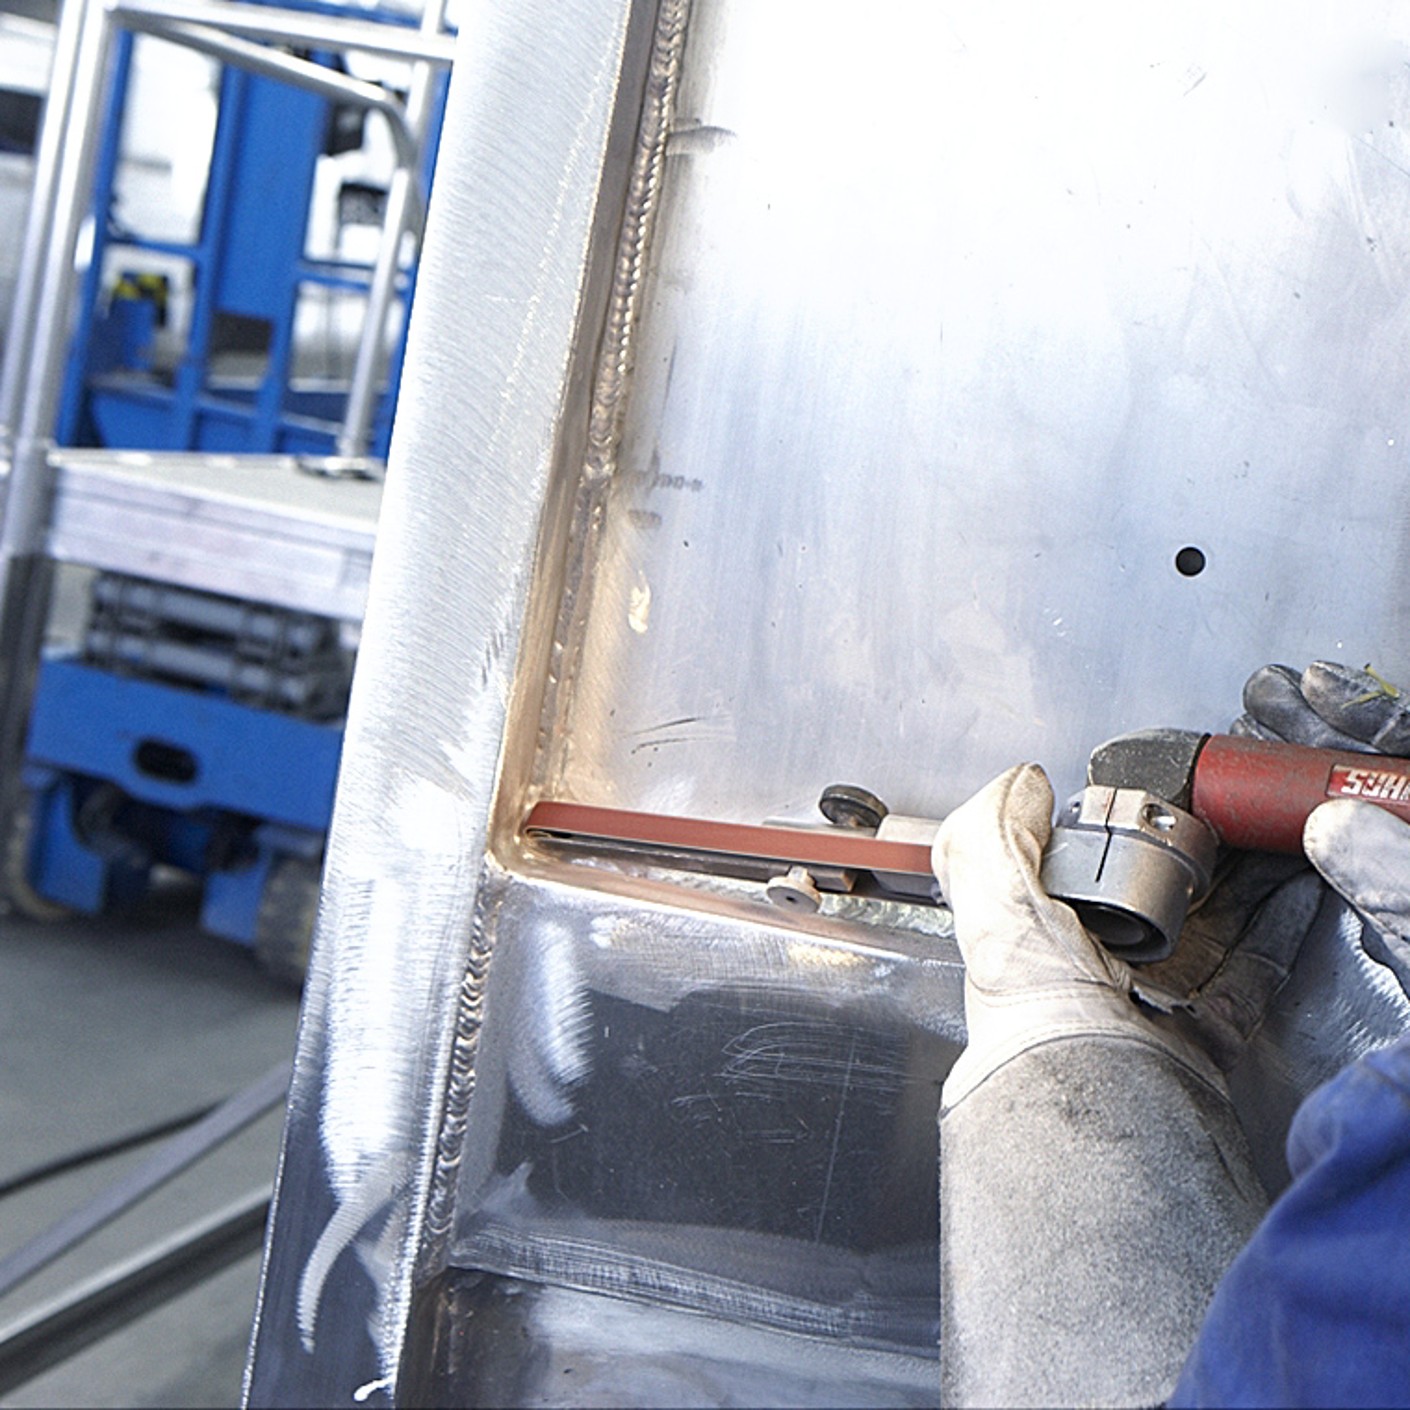
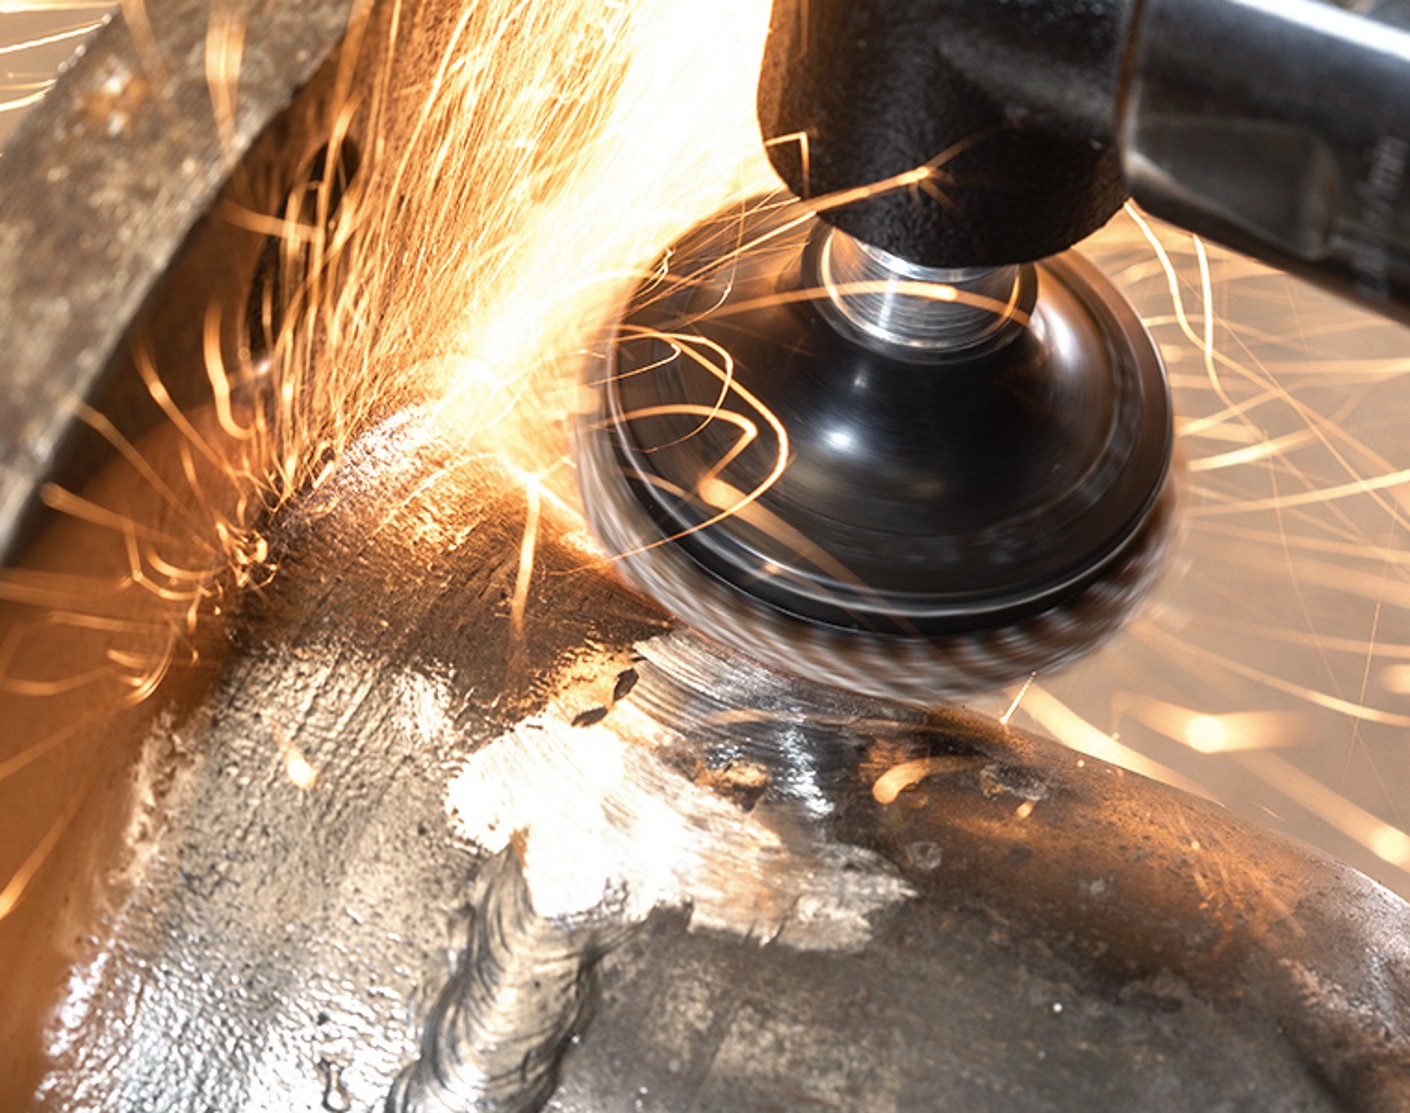
Once you’re done welding, you’ll need to clean off slag and scale as well as any weld spatter or heat tint. Depending on what method you’re using, you’ll usually be starting with a chipping hammer followed up by the right kind of brushes. Keep in mind that you can’t use every kind of bristle with every metal. For more details on this, see our section on materials. Grinding points, grinding discs, flap wheels and even fibre discs are good options to blend the seam’s hump into the surrounding surface and to remove seam residue. Depending on the workpiece and seam’s size, you might also use sander bands or files. Finally, move on to finishing and get that perfect look.

A universal truth: fillet seam or DV seam, lap joint or parallel joint – the precision and accuracy of your preparations impact the longevity of your subsequently welded workpiece. To help you remember all the material-specific nuances, we've compiled the dos and don’ts in our section on materials.
Before you begin follow-up work on your weld seam, don your personal protective equipment. Check the material, too – you might need to wear a respirator.
Note: The grinding disc’s grit, binder type and whether it contains abrasive additives all depend on the welded material. You’ll only get the best-possible grinding performance and long service life by choosing the disc and grit with care.
Tip: Long tool life is important! If you’re using flap wheels on your weld seams, always make sure their grit is aggressive and removal rates high.
Tip: When grinding thin, butt-welded metal sheets, place them on an aluminium panel for optimal heat dissipation.

Or do you think there’s still scope for improving your results? Call us now to speak to our experts.