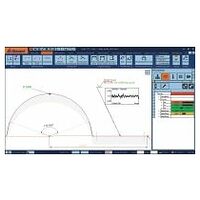
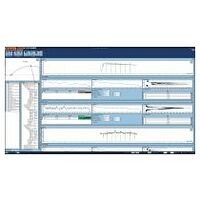
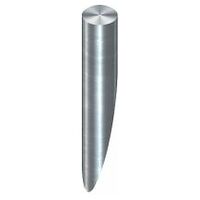
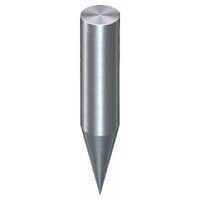
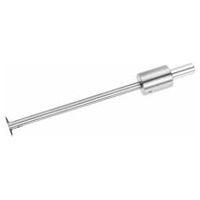
Contour measuring instrument GARANT CM1 - for contours and roughness.
Non-contact optical incremental measuring system for reliable results. Can be retrofitted with new roughness option.
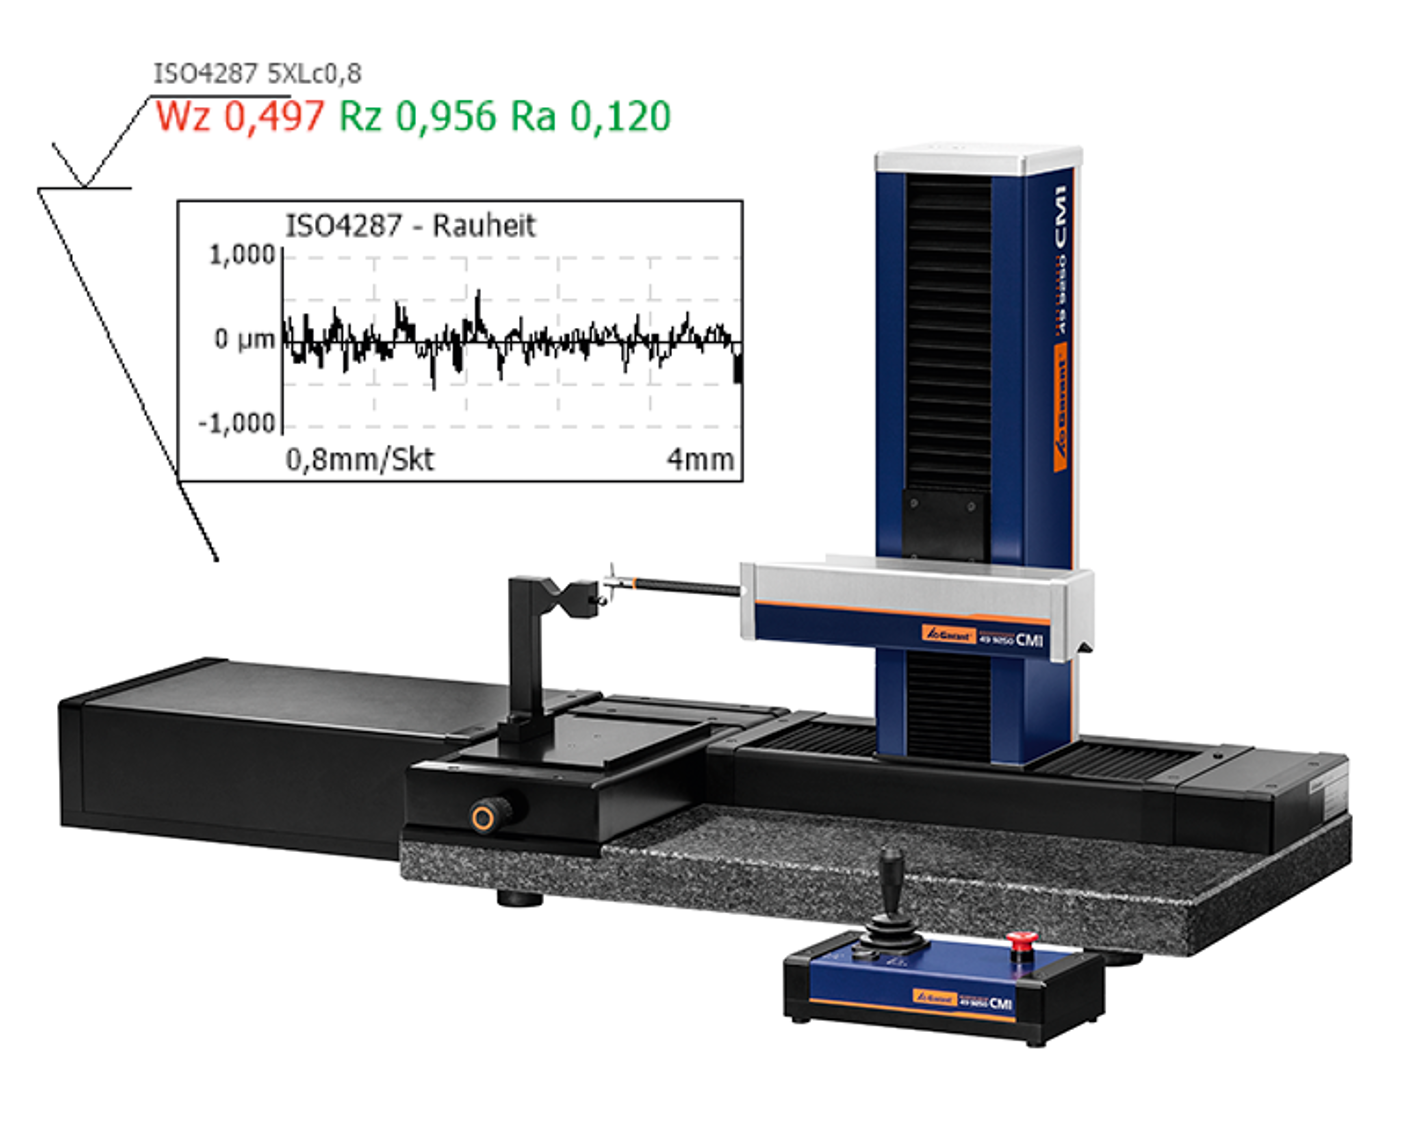
Contour measuring instrument CM1 - clear structures and easy handling.
The GARANT CM1 is an all-round talent for your daily contour measurements. Thanks to its CNC programmable and controllable X and Z axis it provides the largest measuring volume in its class. The optional CNC-controlled Y table can also provide an automated Y axis.
Top-down measurement and fully automatic calibration ensure efficient operation and high reproducibility. With the fully configured measuring computer you are ready to start, without any great set-up requirement.
Simply switch or retrofit:
Up until now, you had to purchase 2 separate devices to measure contours and roughness. Now all you need is the CM1 with a 


Features CM1
- Full-specification measurement computer (Quad-Core, 8 GB RAM) with optimum cable management
- Optionally with CNC controllable Y-table
- Reliable results by incremental non-contact visual evaluation of the measurement axes
- CNC controllable Z axes
- CNC controllable X axes
- Optionally with joystick for control
- Set the measured section and measurement rate.
- Solid granite base

The largest measurement range in its class:
With a measurement range of 190 mm in X and 275 mm in Z (maximum traversing length in a space of > 330 mm) the CM1contour measuring instrument offers the largest measurement range in its class.
In contrast to pivot point measurement, this two-axis measurement is performed at a constant 0° measuring angle.

Measure upper and lower contours (top-down measurement):
The CM1 contour measuring instrument operates with absolute coordinates and from the start allows you to measure contours against one another in a precise dimensional relationship. Top-down measurement therefore allows contours to be determined and automatically compared to each other, in a single pass.
Fully automatic calibration:
Fully automatic calibration of the contact points reduces the personal time requirement and ensures that calibration is independent of the operator.
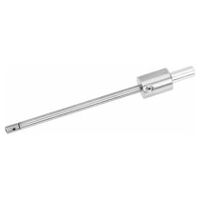
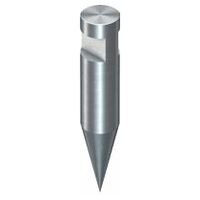
Contour measuring instrument CM1 and accessories
Product videos
GARANT contour measuring instrument CM1
The GARANT CM1 is an allround talent for daily contour measurements. Thanks to its CNC programmable and controllable X and Z axis, it provides the largest measuring volume in its class. Top-down measurement and fully automatic calibration ensure efficient operation and high reproducibility. With the fully setup measuring computer, the GARANT CM1 is ready to go. Find out all about the construction of the GARANT CM1 contour measuring instrument in this video.
The measuring principle of the GARANT CM1
The GARANT CM1 contour measuring instrument has an impressive, giant measurement range with an extremely small package. With a measuring range of 190 mm in X and 275 mm in Z, the contour measuring device CM1 offers the largest measuring range in its class. In contrast to a pivot point measurement, this biaxial measurement is measured constantly with a measurement angle of 0°. Convince yourself of the advantages of the GARANT CM1 contour measuring device compared to the pivot point measurements!

 To advice